Dry vs. Wet Diaper Pail
Diving deep into what diaper pail is best for the health of your baby and longevity of your cloth diaper stash. Read More.
HOW TO WASH CLOTH DIAPERSCLOTH DIAPER ACCESSORIES
Shania d. H.
8/9/20246 min read

The Benefits of Using a Dry Diaper Pail vs. a Wet Diaper Pail
When it comes to managing dirty diapers, parents often face the dilemma of whether to store them in a dry diaper pail or a wet diaper pail. Both methods have their pros and cons, but in this blog post, we will explore the benefits of using a dry diaper pail and how it can make your diaper-changing routine easier and more hygienic. Contains affiliate links.
Why Choose a Dry Diaper Pail?
Less Odor: One of the primary advantages of using a dry diaper pail is that it helps to minimize odor. By keeping the diapers dry and aerated, you can reduce the growth of bacteria and the unpleasant smells that come with it.
Reduced Mess: Wet diaper pails can become breeding grounds for mold and mildew if not properly maintained. A dry diaper pail eliminates the need to deal with soggy, dripping diapers, making the changing process cleaner and more convenient.
Easy to Clean: With a dry diaper pail, you don't have to worry about emptying out a container of liquid every time you change the bag. This simplifies the cleaning process and saves you time and effort.
Prevents Diaper Rash: Storing diapers in a wet environment can increase the risk of diaper rash for your baby. A dry diaper pail helps to keep the diapers dry and fresh, reducing the chances of irritation and discomfort.
Better for the Diaper: Storing dirty diapers in a wet diaper pail will brake down the fibers of the diaper and decrease their life expectancy.
How to Set Up a Dry Diaper Pail System
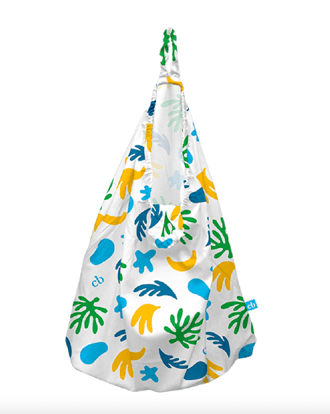
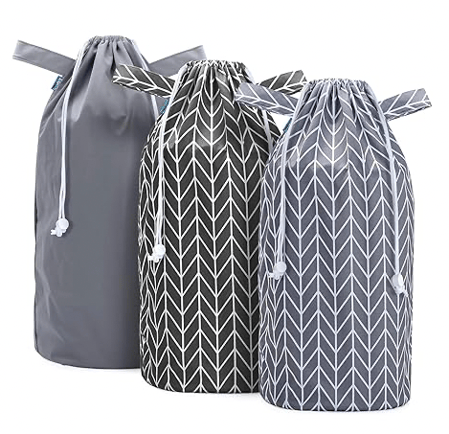
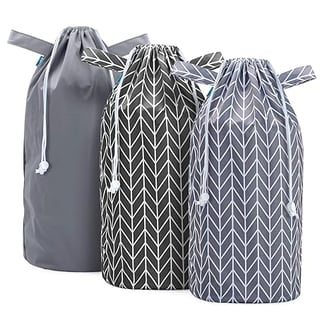
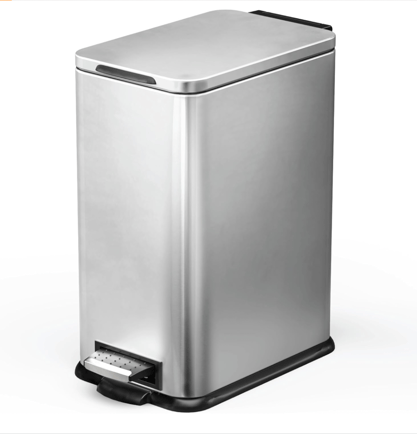
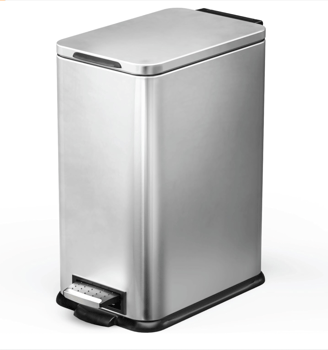
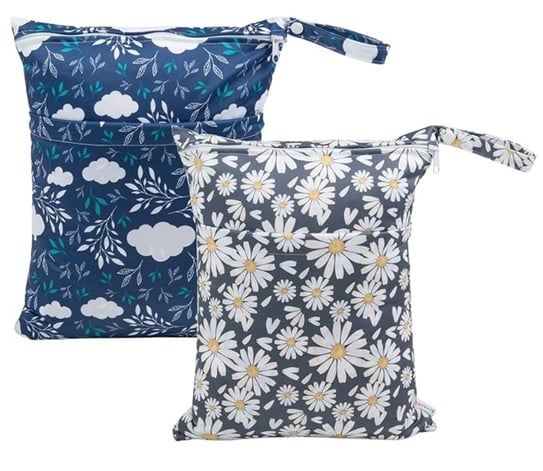
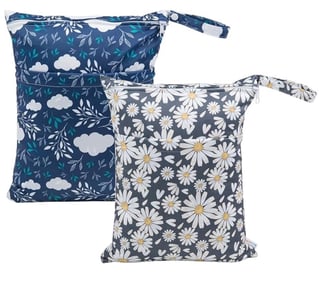
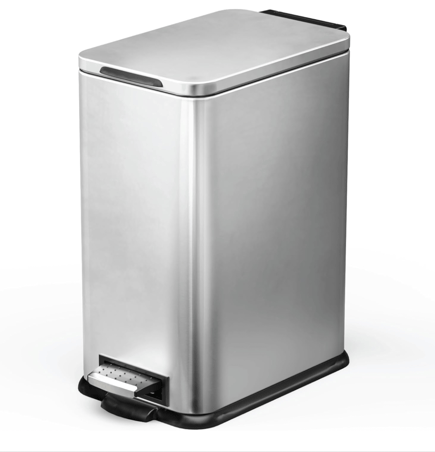
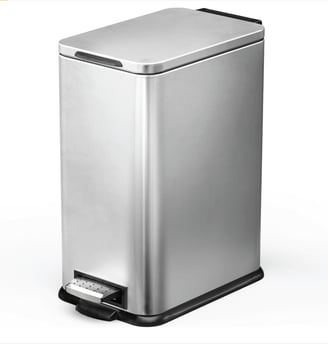
Choose the Right Pail: Look for a diaper pail specifically designed for dry storage. These pails often have ventilation systems or odor-blocking features to keep the diapers odorless. Pictured above are two of my favorite options, the pail is easy to use and hands free verses the bag you and wash with the diapers and is multi purpose for going to the beach and having a place to put your wet swim suits and using as a liner in the diaper pail.
Use Diaper Pail Liners: Invest in high-quality diaper pail liners to contain the odor and mess. Opt for liners that are leak-proof and easy to dispose of. You can opt for regular trash bags and dispose of them every wash day or use a reusable liner and wash it with the diapers.
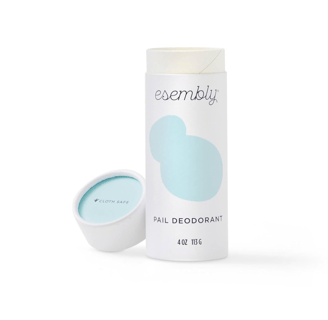
Air Circulation: Ensure that your dry diaper pail has adequate air circulation to prevent moisture buildup. Consider placing a deodorizer or baking soda at the bottom of the pail to absorb any odors.
Regular Maintenance: Empty the diaper pail regularly to prevent the accumulation of odor-causing bacteria. Clean the pail with a mild detergent and water periodically to keep it fresh and hygienic.
Using a dry diaper pail offers several advantages over a wet diaper pail, including reduced odor, less mess, and improved hygiene. By following the tips outlined, you can set up an efficient and odor-free diaper disposal system that makes diaper-changing a breeze for both you and your little one.
Question and Answers:
Q: What are the benefits of using a dry diaper pail over a wet diaper pail?
A: Using a dry diaper pail helps minimize odor, reduces mess, is easier to clean, can prevent diaper rash, and save the life of the diapers compared to a wet diaper pail.
Q: How can I set up a dry diaper pail system?
A: To set up a dry diaper pail system, choose a pail with ventilation features, use diaper pail liners, ensure proper air circulation, and perform regular maintenance such as emptying the pail every 1-3 days and cleaning it periodically.
Q: Why is odor control important when storing dirty diapers?
A: Odor control is important when storing dirty diapers to maintain a pleasant environment, prevent the spread of bacteria, and reduce the risk of attracting pests.
Q: How does using a dry diaper pail contribute to preventing diaper rash?
A: Storing diapers in a dry environment helps prevent diaper rash by reducing moisture and bacteria growth, thus minimizing skin irritation and discomfort for the baby.
Q: What should I look for in a diaper pail liner for a dry diaper pail?
A: When choosing a diaper pail liner for a dry diaper pail, look for leak-proof liners that are easy to dispose of and help contain odors effectively.
Q: How often should I empty and clean my dry diaper pail?
A: It is recommended to empty the dry diaper pail regularly every 1-3 days to prevent odor buildup and clean it with a mild detergent and water periodically to maintain freshness and hygiene
Q: What do I do while I'm out of my house like shopping or traveling?
A: What a great question! I love my travel size wet bags, its the perfect size to it keep in your diaper bag and fits over a days worth of diapers in it. my favorite part is it has two pocket so if your baby spits up and has dirty cloths you can put it in the other pocket away from soiled diapers!
Choosing the Best Diaper Pail and Wet Bag for Your Needs
Selecting the right diaper pail and wet bag can make a significant difference in managing dirty diapers efficiently and keeping your nursery clean and odor-free. Here are some tips on how to choose and use the best diaper pail and wet bag for your specific needs:
Diaper Pail Selection and Usage Tips:
Consider Odor Control Features: Look for a diaper pail with effective odor control mechanisms such as sealing lids, carbon filters, or baking soda holders to minimize unpleasant smells in your nursery.
Ease of Use: Choose a diaper pail with a foot pedal for hands-free operation, as it can be convenient during diaper changes when your hands are full.
Capacity: Consider the size of the diaper pail and choose one that can hold an adequate number of diapers based on how frequently you plan to empty it.
Hygiene: Opt for a diaper pail with antimicrobial or easy-to-clean surfaces to prevent the growth of bacteria and maintain a hygienic environment.
Compatibility: Ensure that the diaper pail is compatible with standard disposable diaper sizes or cloth diaper inserts, depending on your diapering preferences.
Maintenance: Regularly empty and clean the diaper pail to prevent odors and bacteria buildup, following the manufacturer's instructions for maintenance.
Wet Bag Selection and Usage Tips:
Waterproof Material: Choose a wet bag made of waterproof material to contain moisture and prevent leaks, especially when storing wet or soiled cloth diapers on-the-go.
Size and Portability: Select a wet bag with sufficient capacity for your needs, whether for short outings or longer trips, and consider features like handles or straps for easy carrying.
Washable and Reusable: Opt for a washable and reusable wet bag to reduce waste and save money in the long run, making sure to follow the manufacturer's washing instructions.
Separate Compartments: If you plan to store both wet and dry items in the same bag, look for wet bags with separate compartments to keep them separate and organized.
Air Circulation: Ensure proper ventilation in the wet bag to prevent mold or mildew growth, especially when storing damp items for an extended period.
Travel and Going Out: Travel wet bags are a efficient way to cloth diaper out of your house they are small enough to fit inside your diaper bag and they come in all kinds of fun colors they're multi functional with two pockets for if your baby has dirty clothes they won't need to be in the same space as the diapers.
By selecting the right diaper pail and wet bag that suit your needs and following these tips on their usage, you can streamline your diaper-changing routine, maintain a clean and odor-free nursery, and make diapering more convenient for both you and your little one.